What are Microgreens?
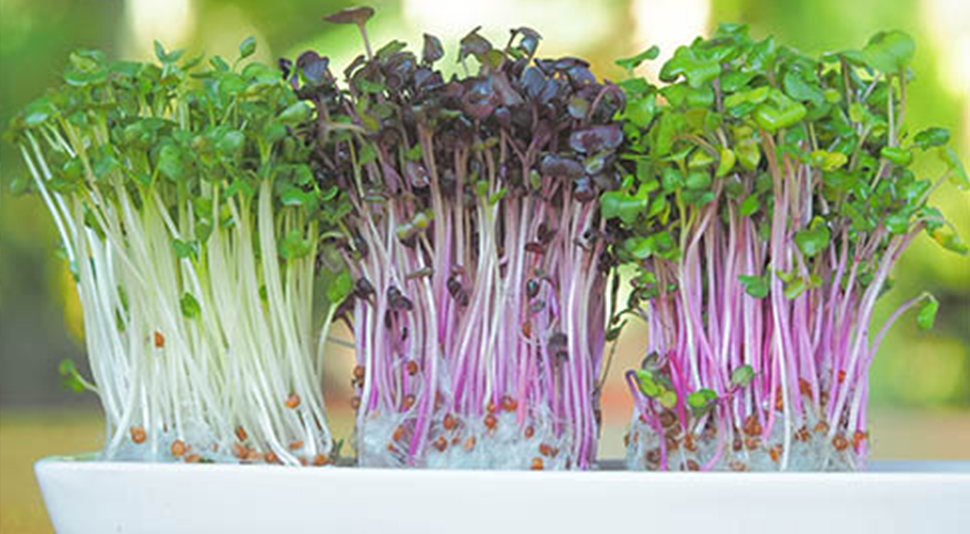
If you ask me, microgreens sound a little like a science fiction term. But microgreens are just young vegetable greens that are around three inches or smaller in height. They are filled with so many nutrients. Not to mention the fact that they come in a variety of textures and colors.
They also vary in taste. I love all of them. They can range from bland to spicy to sour or bitter, depending upon what type of variety you grow or buy. When describing the flavors of different microgreens, consumers normally use the words concentrated and strong.
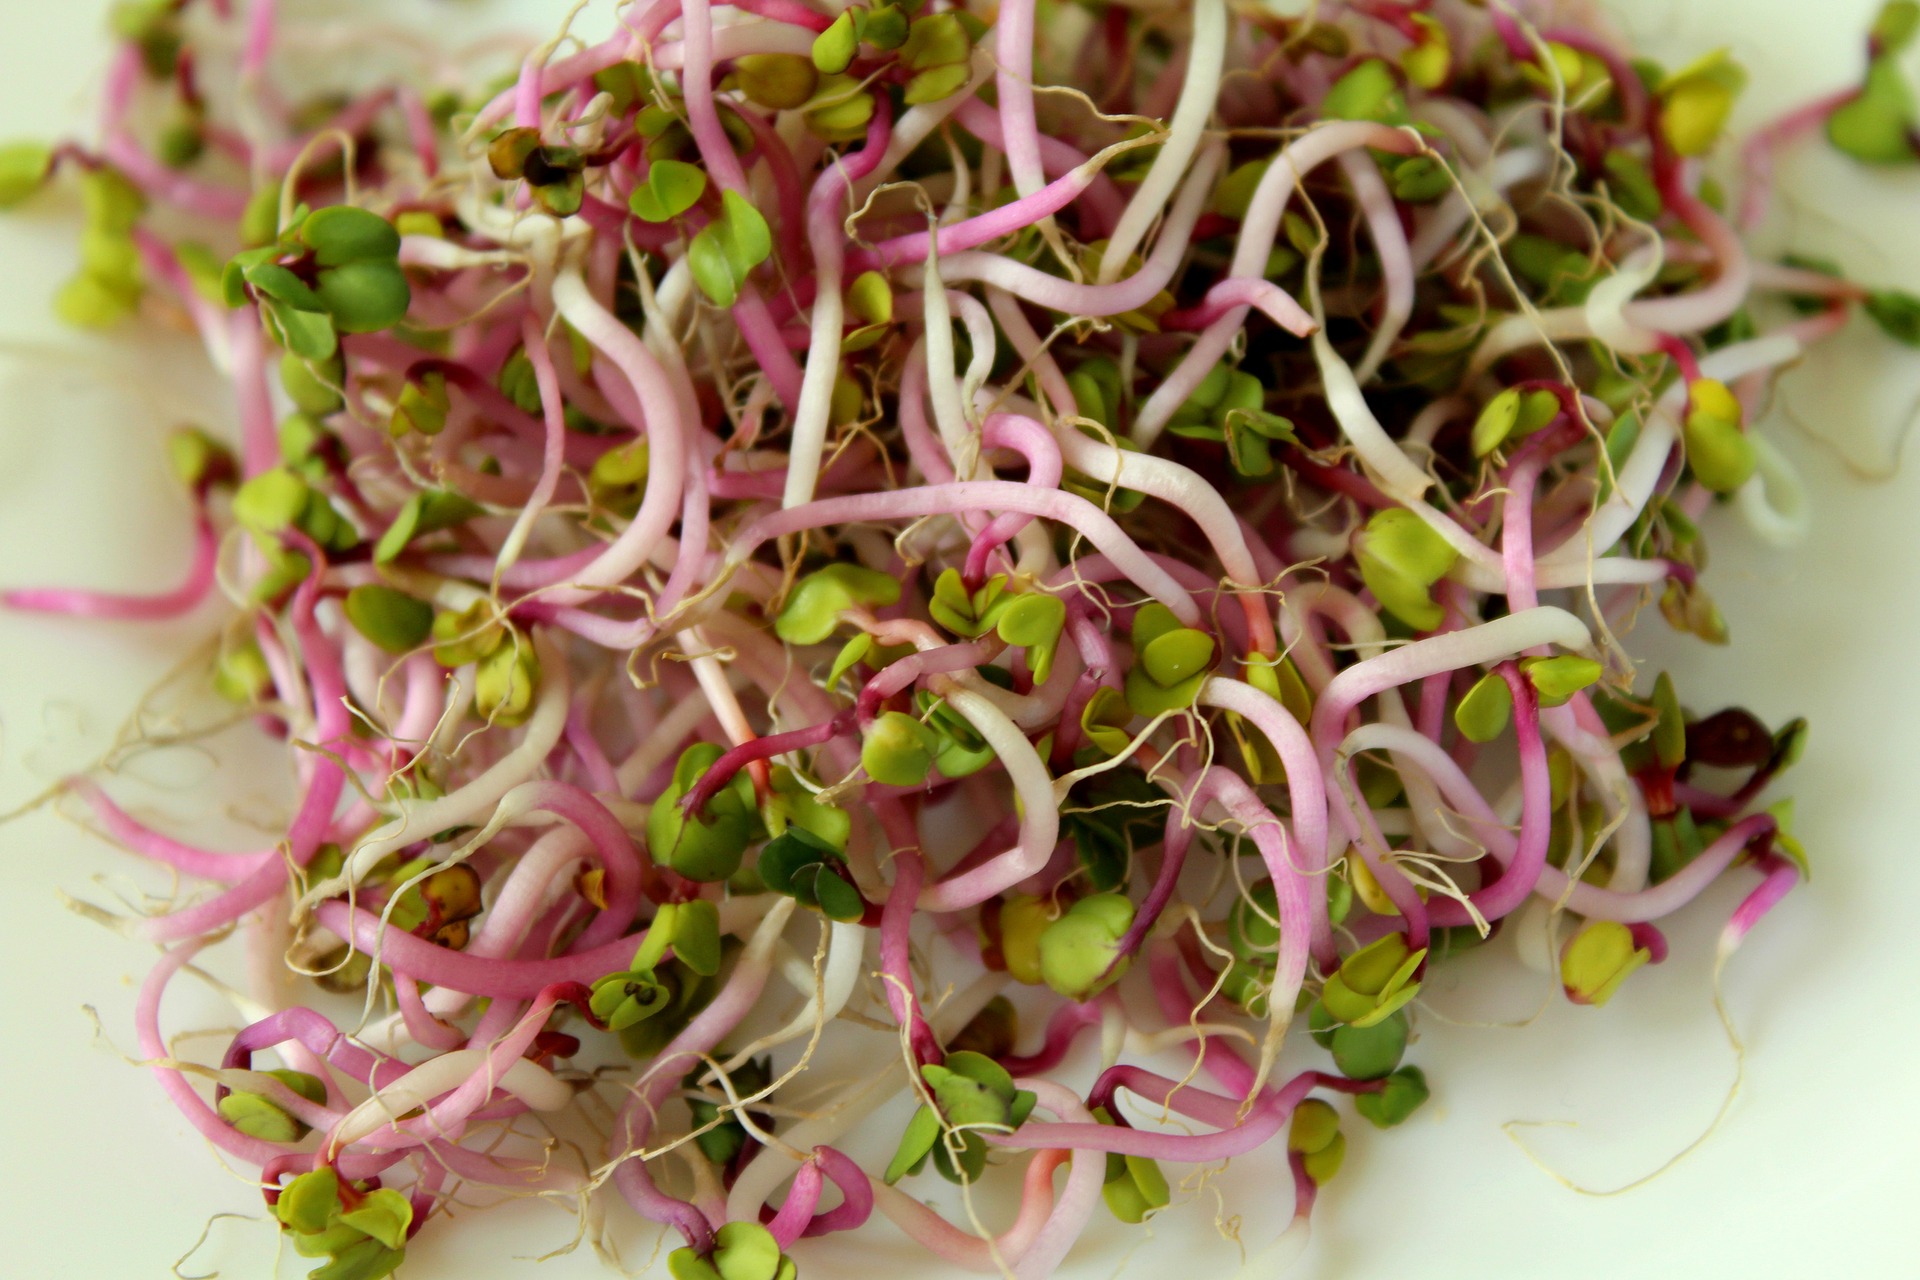
I suppose you can think of microgreens as baby plants. Technically they are somewhere between a baby green and a sprout. They are not sprouts though, because sprouts don’t have leaves. Microgreens are harvested about a week or so after sprouts burst from the soil.
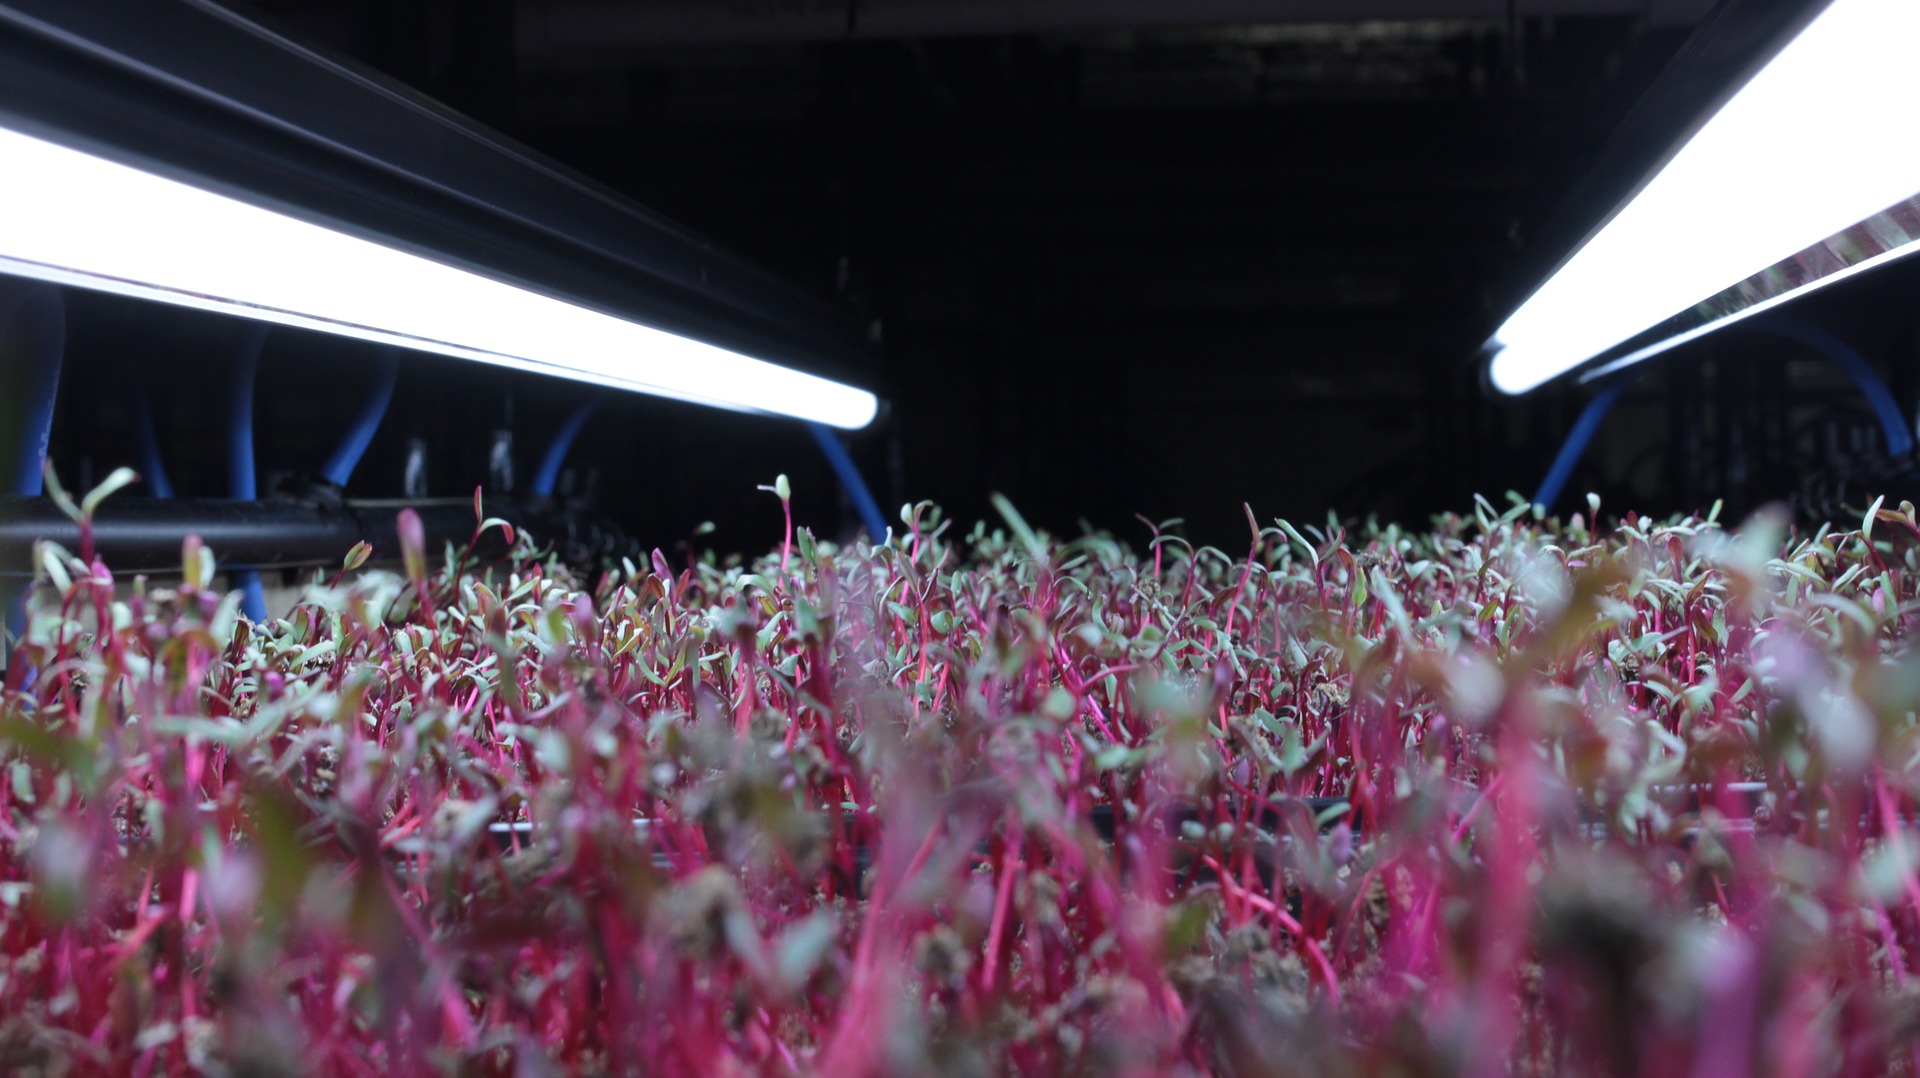
Microgreens are very convenient to grow and can be grown from a variety of seeds. They can also be grown in different locations, including pots under grow lights, on your windowsill, in greenhouses or outdoors. Some of the more popular varieties include:
- Brassicaceae family: Cauliflower, broccoli, cabbage, watercress, radish and arugula
- Asteraceae family: Lettuce, endive, chicory and radicchio
- Apiaceae family: Dill, carrot, fennel and celery
- Amaryllidaceae family: Garlic, onion, leek
- Amaranthaceae family: Amaranth, quinoa swiss chard, beet and spinach
- Cucurbitaceae family: Melon, cucumber and squash
Are Microgreens Good for You?
Since they come from different types of seeds and plants, their nutrient content can change, depending upon what you plant or buy. But no matter what you end up with, they will have a tendency of being high in antioxidants, copper, zinc, potassium, magnesium and iron. It is even said that microgreens are linked with a lower risk of heart disease, Alzheimer’s disease and certain cancers. Incorporating microgreens in your diet is so easy, tasty, and good for your health.
Can You Grow Your Own Microgreens?
Fill a container or pot with soil. Be sure not to over-compress the soil, and water it until it is damp. Then sprinkle the seeds on top of the soil. Try to do so as evenly as possible so that they have space to grow and won’t crowd.
Mist the seeds with water, then cover the whole container with a lid. A plastic covering or lid works perfectly. If you are unsure as to what kind of container to buy, there are plenty of microgreen growing kits available online.
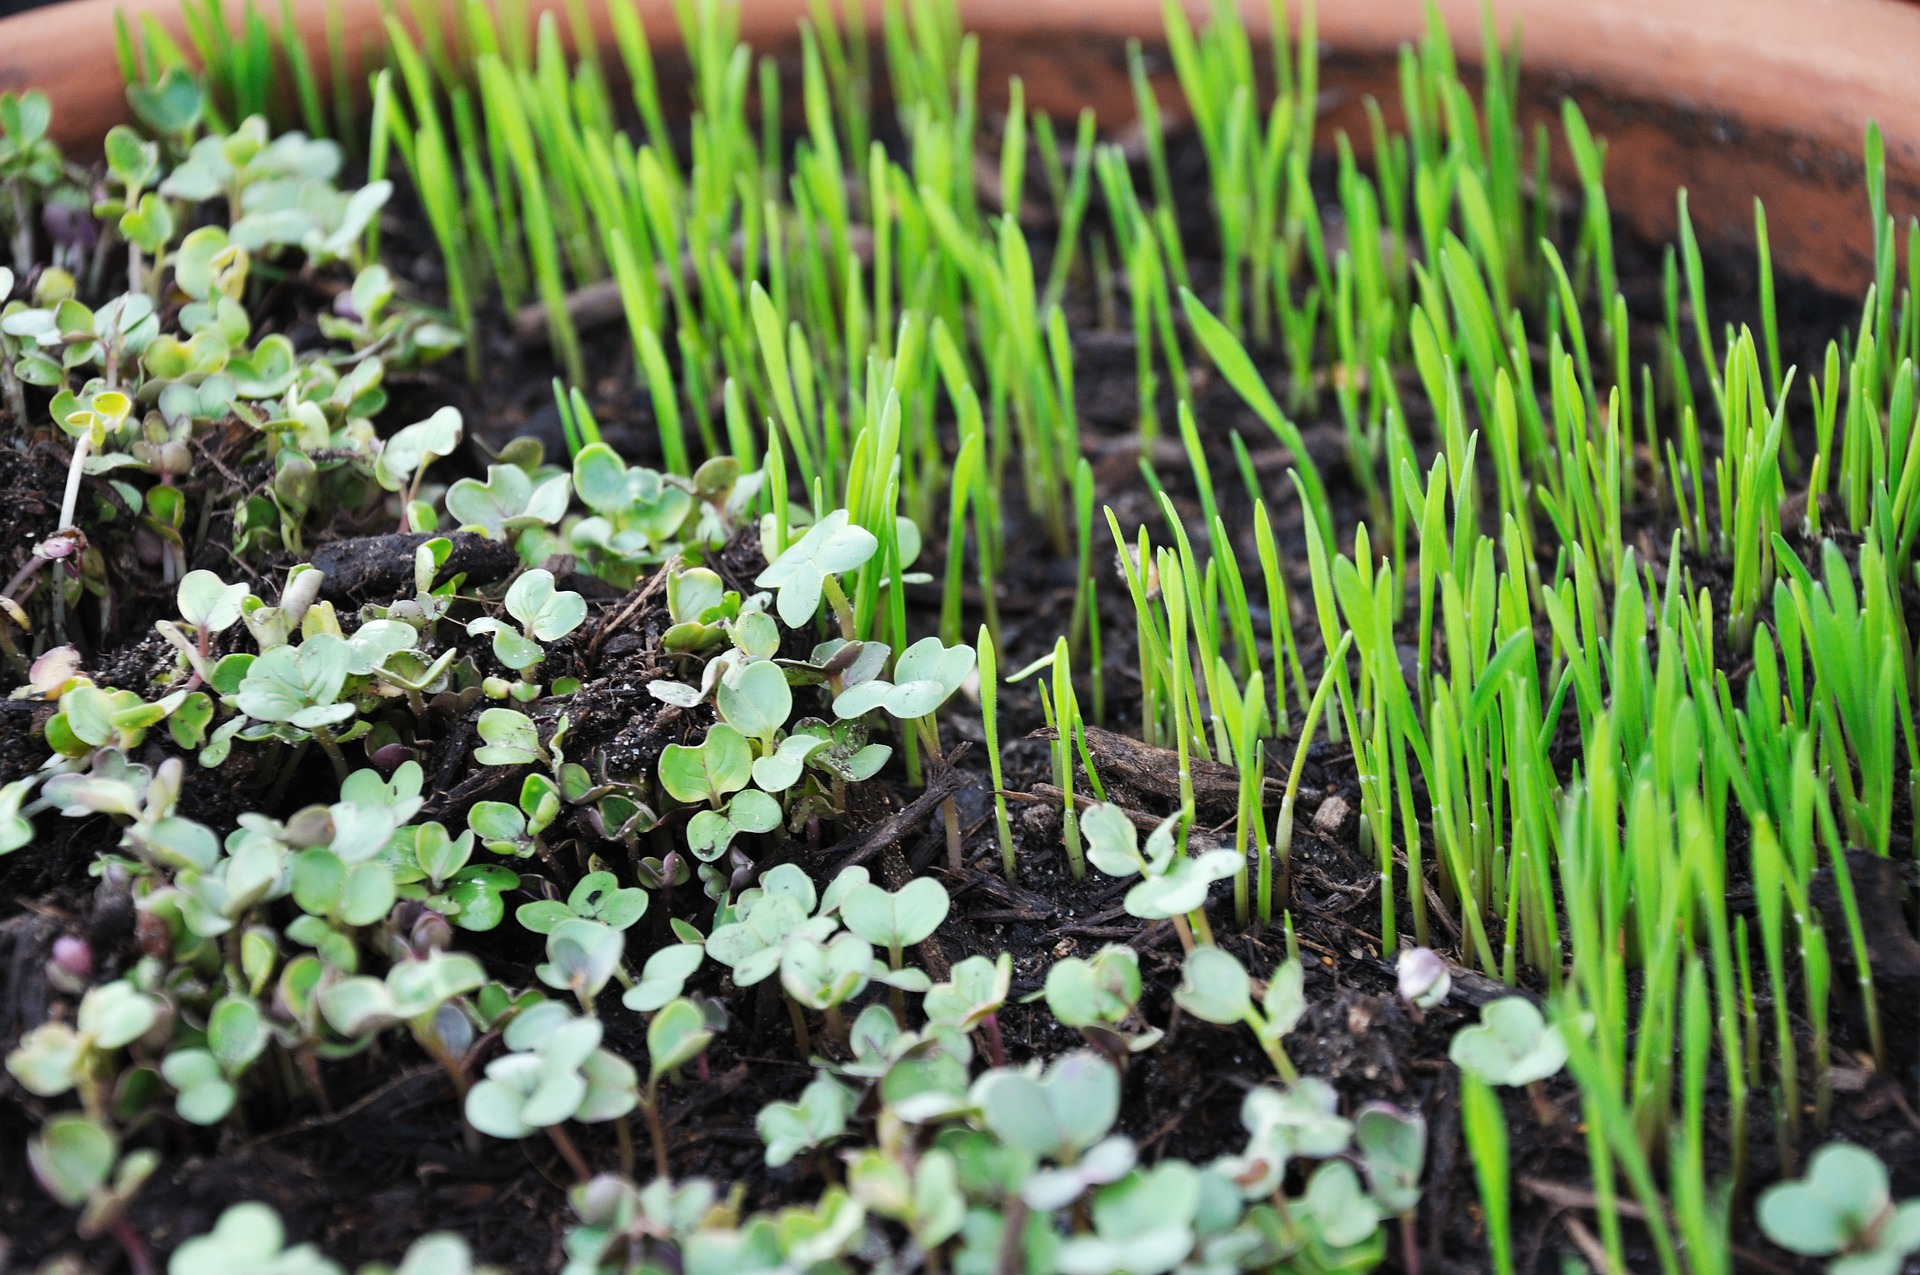
Make sure to check on your tray every day and mist them just enough to keep them moist. After a few days, they will have germinated. At this point, you can take the plastic lid off so you can expose them to some light.
At this time, you can start watering them once a day. (Keep them moist!) They will start to grow and gain a bit of color. In about seven to ten days, they should be ready to harvest. Most microgreens take between one to two weeks. If you collate or stagger the time in which you plant them, you will be able to always have microgreens available.
After you harvest them, it’s best to keep them out of sunlight until they start growing again. When you harvest try to keep in mind:
- They are best harvested right before you want to eat them.
- If you have to harvest and store them, don’t wash them before you store them because excess moisture will cause them to deteriorate faster.
- Use sharp scissors and snip them at the base of the stem. Microgreen roots are too developed and aren’t good for eating.
If you grow them indoors, you’ll be able to have microgreens all year long. They really just need soil, sunlight (or a grow light will work), seeds and a watering system or a little bit of daily attention. Since the pandemic started, I have been growing plants indoors and taking care of them has been a way for me to destress.
I have done both grow them and buy the seed quilts. They taste amazing. Here is one of the companies www.hamama.com.
Favorite Microgreen Recipe
There are so many ways you can eat microgreens. You can work microgreens into so many different dishes. My favorites include salads, wraps and sandwiches. You can also blend them into smoothies, and they can be juiced (wheatgrass just is a great example). They are not just for cold dishes, either. I also love to use them as garnishes for dishes like omelets, soups, pizzas, curries, stews, and other types of warm dishes.
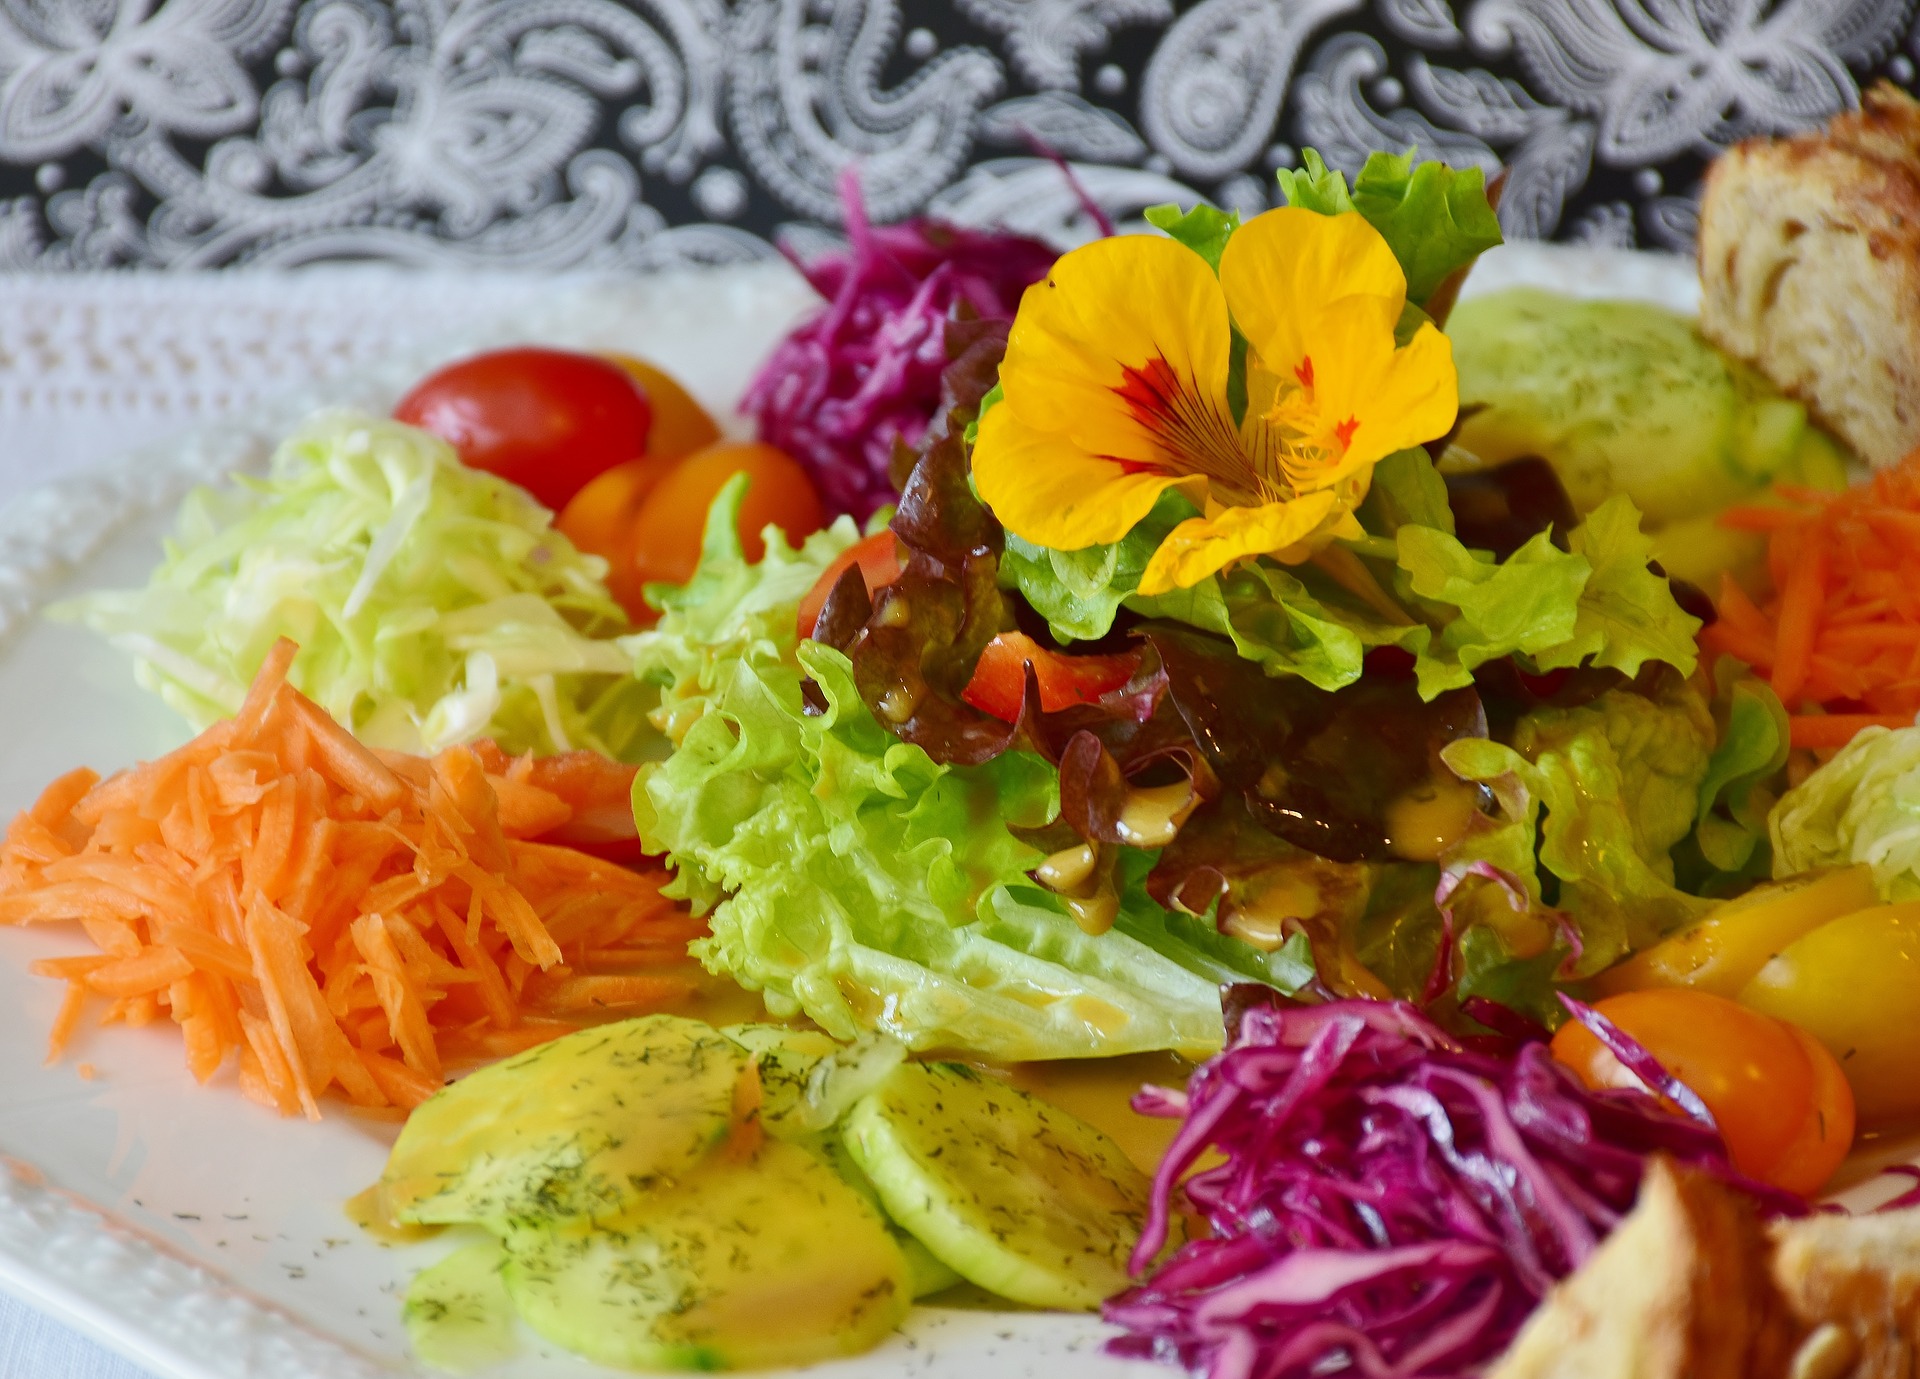
Since it is still warm and I want to keep a hold of the warm weather as much as possible, I have a wonderful salad recipe to share with you today. This does not mean that it’s just a summer recipe though. This is a great salad to add to any dinner table. It brings a bright and lovely pop of color to any meal.
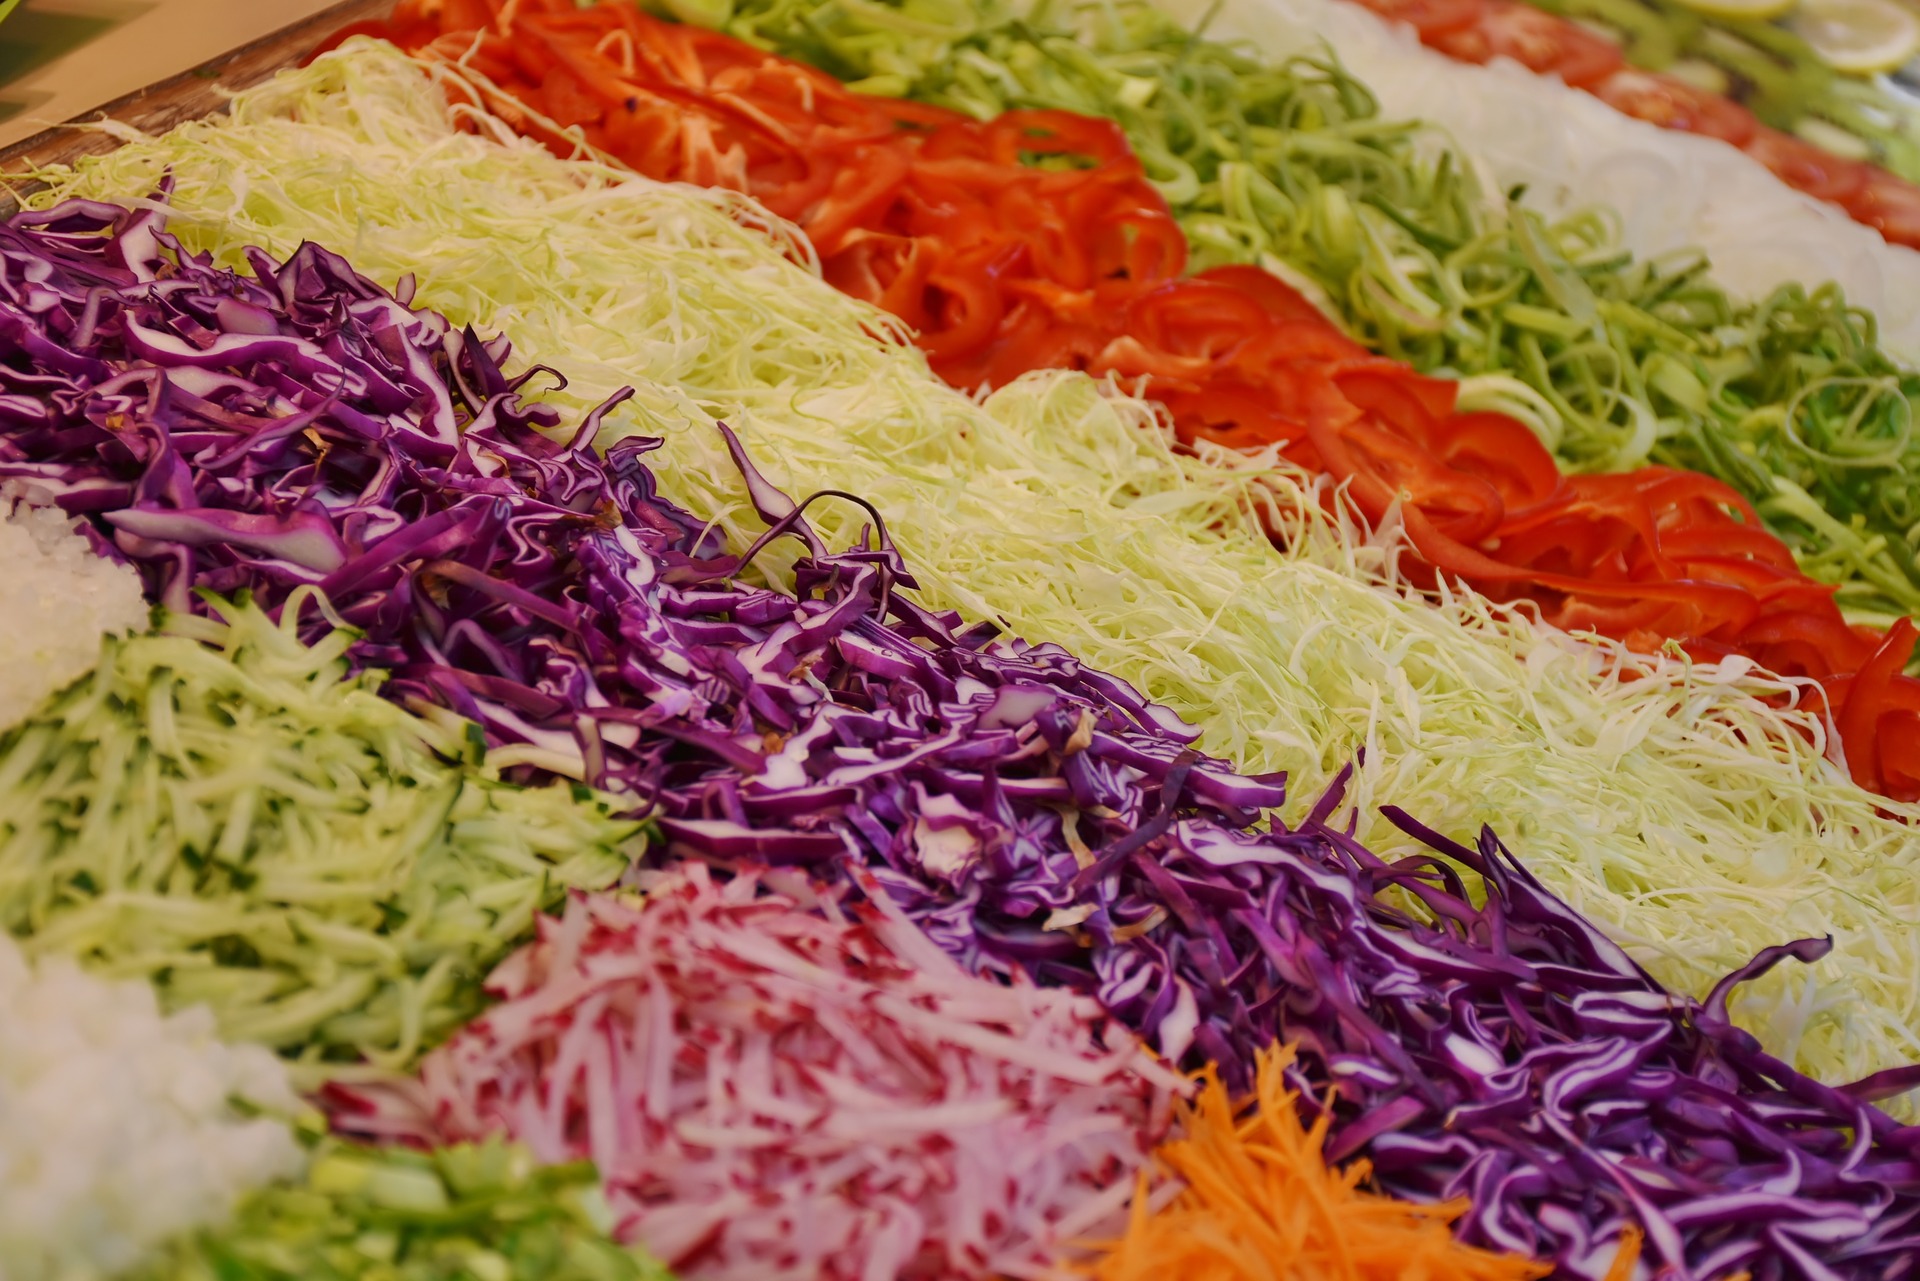
Over the Rainbow Salad
What You are Going to Need for the Salad:
- five ounces of butterhead lettuce
- five ounces of arugula
- watermelon radish (thinly sliced)
- purple radish (thinly sliced)
- green radish (thinly sliced)
- three carrots (shaved into ribbons, either sliced or shocked in an ice bath to get them to curl)
- half a cup of snap peas
- quarter of a cup of red cabbage (shredded)
- couple shallots (cut into rings)
- couple blood oranges (segmented)
- handful of microgreens
- handful of edible flowers
What You Need for the Dressing:
- half a cup blood orange juice
- half a cup extra virgin olive oil
- tablespoon red wine vinegar
- tablespoon dried oregano
- tablespoon honey
- salt and pepper, to taste
What to Do with Those Things:
- Mix all the dressing ingredients together, adding the salt and pepper last.
- Toss salad ingredients together.
- Easy peasy!